
In this post, you will make a Flutter Machine Learning App – Actually Dog VS Cat Detector.
Don’t worry, there are no complex mathematical calculations or any other works. without wasting time, let’s start.
okay… but some basics first.
Contents
What is Machine Learning?
In simple words, Machine learning is a branch of Artificial Intelligence, helps systems to learn from experience like human beings. They learn from data and predict the output and improve themselves. Companies like Google, Facebook, and Amazon are making use of it.
For example: Recommendation Engines, Email spam filtering.
Types of Machine Learning
-
- Supervised Learning.
- Unsupervised Learning.
- Reinforcement Learning.
I am not going to talk about these machine learnings except Supervised Learning.
Supervised Learning
It’s like teaching a child, for example mom showing images of animals and teaches which is a dog and a which is a cat. Just like this Machine learning algorithm is provided with lots of labeled data and later it will predict the output based on the input.
Dog vs Cat Detector is an example of Supervised Learning.
Google TeachableMachine
It’s a web-based tool that helps to train models without any coding. For beginners, it’s really helpful. The teachable machine supports models based on images, sounds, and poses and you can freely use the models in your site, app, and more.
Kaggle
An online community for machine learners and data scientists. It offers more than 19,000 public datasets and 200,000 public notebooks to do your data science works.
TensorFlow
It’s a Machine learning – open source library made by Google Brains Team. It assists beginners or experts to create machine learning models.
- Flutter Notes App Using Provider, Sqflite & ImagePicker
- Flutter QR Code Generator and Scanner With Sharing Feature.
- Flutter Hyperlink Text
- FloatingActionButton In Flutter
How To Make A Flutter Machine Learning App Which detects Dog or Cat? – In Simple Steps.
-
- go to Kaggle.com and download Cat and Dog datasets.
- Using the datasets, make model using Google teachable machine.
- Import the model in Flutter app.
- Tensorflow lite package detects given image containing a dog or cat.
Flutter Machine Learning App – Dog vs Cat Detector- Step by step tutorial

We will make an app like above. How is it? looking nice.
Okay. First of all, let’s make a Machine learning model.
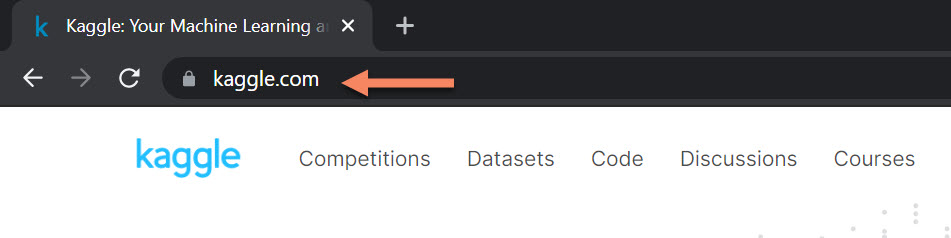
- As a first step, we need to download Cat and Dog dataset from
Kaggle.com.
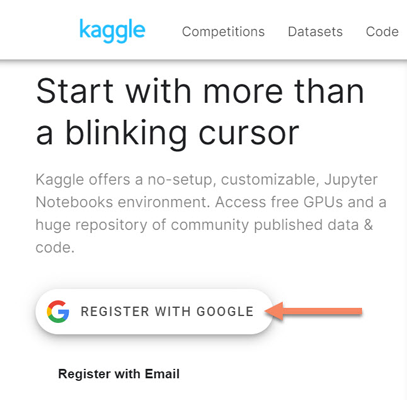
- Now register using your google or your email.
- Complete registration using by providing full name and agreeing to Privacy and terms.
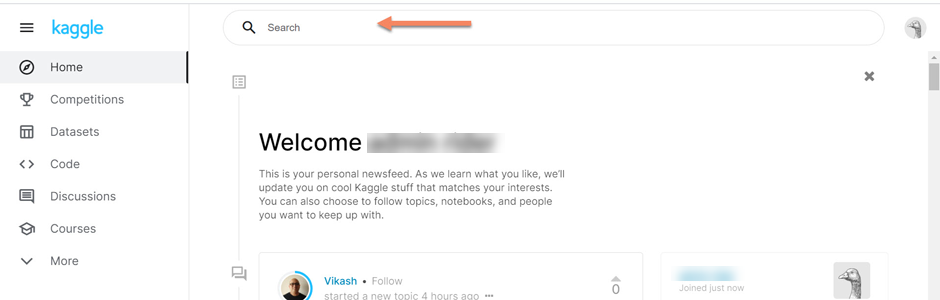
- Click on search part, and type Cat and Dog.
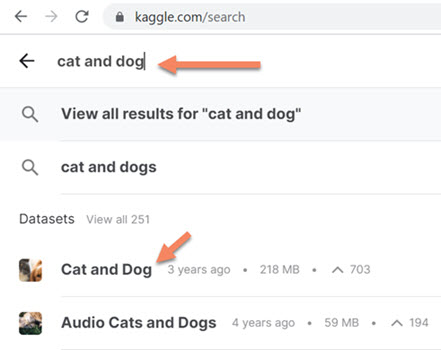
- click on Cat and Dog dataset from the list.
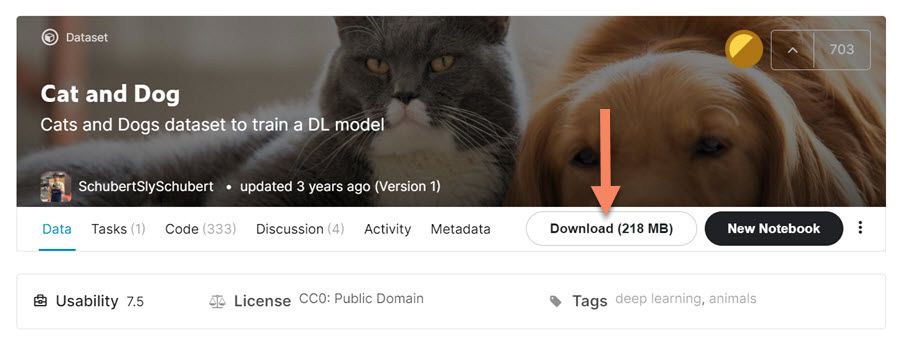
- It will show a detailed page of Cat and Dog Dataset.
- Click on the Download button. Now the archive.zip will be downloaded.

-
-
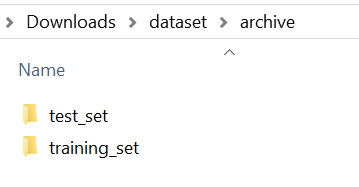
- Extract the zip file.
-
-
-
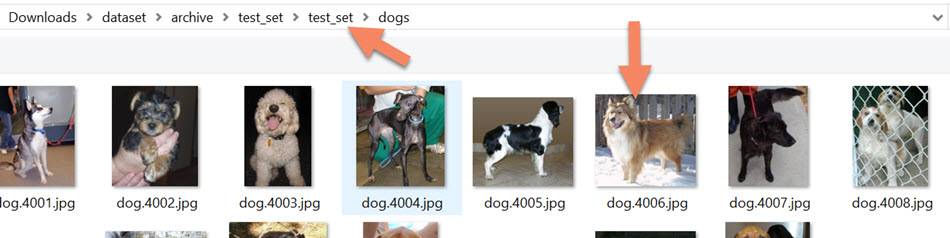
- Inside the archive directory, there are 2 sets. testing_set and training_set.
- Training Set is for training the model and testing set for testing the model. So simple.
- In these directories, you will get Cat and Dog images.
-
Using these images, we can make the model.

-
-
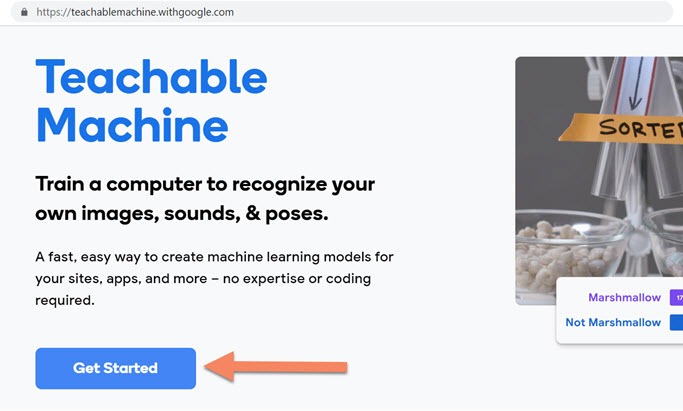
- Click on Get Started
-
-
-
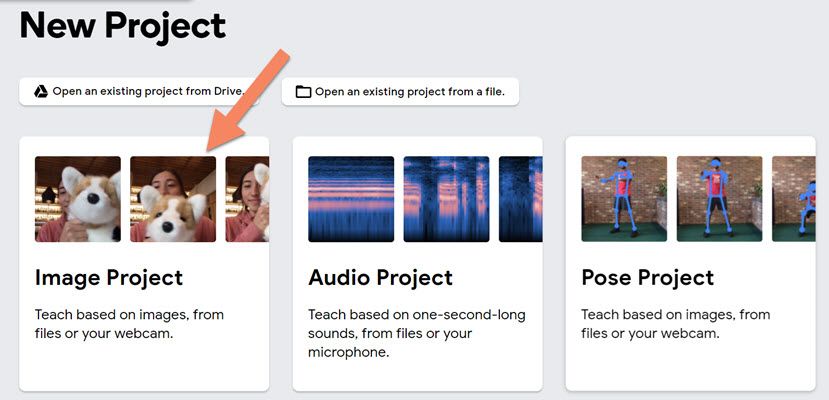
- Select Image Project.
-

-
-
- Choose Standard Image Model.
-
-
-
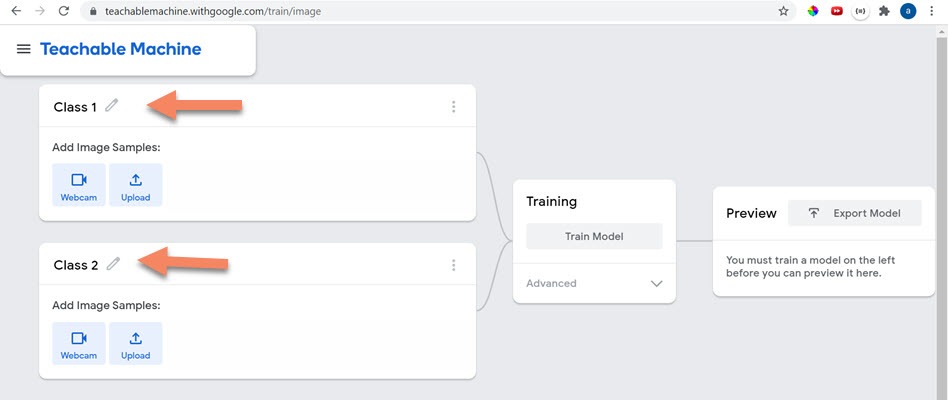
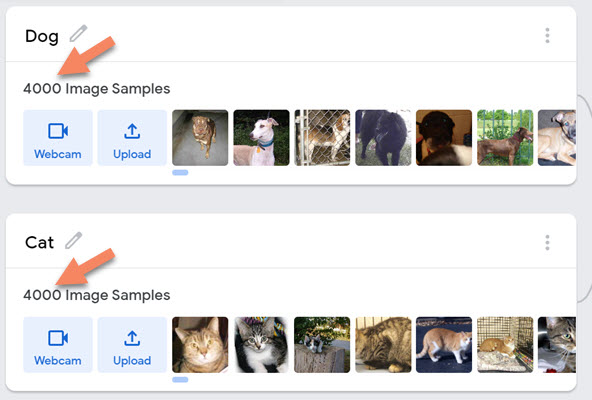
- Change Class 1 to Dog, and Class 2 to Cat .
- Yes, we are labeling it.
-
-
-
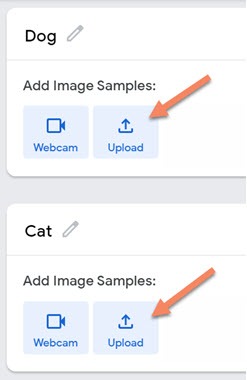
- You need to upload dog images, in Dogs class.
- So click on the upload button.
-
-
-
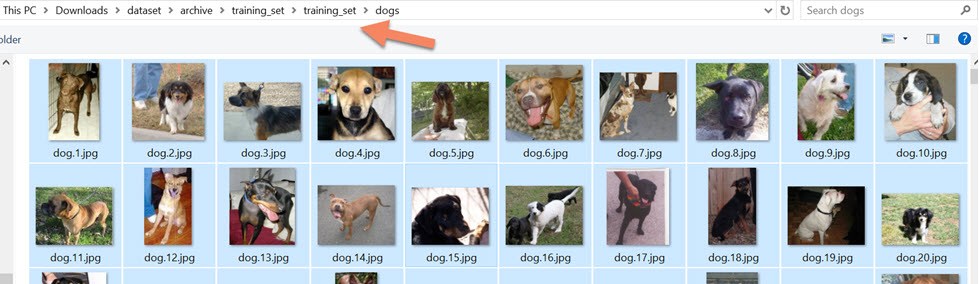
- Open the training_set directory of Dog, and select all images and click on Open.
-
-
-
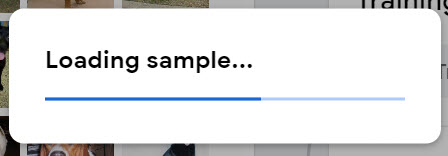
- It takes time to load all images.
-
-
-
- Just like Dogs, you need to upload Cats images in Cats class from training_set directory.
- It’s better to keep same amount of images in both sets, but it won’t change the result that much if one set has 5 extra images.
-
-
-
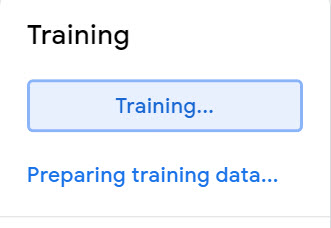
- Click on Train Model.
- Using the given images, it will train the model.
- You can change the additional settings, if you want. But now this is enough.
-

-
-
- Wait for 50 epoch to complete.
-
-
-
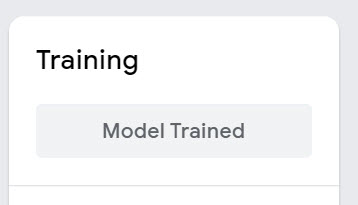
- Model is completely trained by Google teachable Machine.
-
-
-
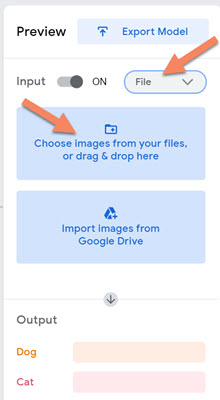
- Let’s preview the model using a dog image from test_set.
- Choose File option, upload or drag and drop image.
-
-
-
- Select the image and click open button.
-

-
-
- Model predicted Successfully. Use any cat image and check it out.
-
-
-
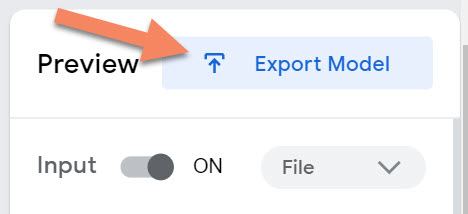
- For Using this model in apps, you need to export it.
- Click on Export Model.
-
-
-
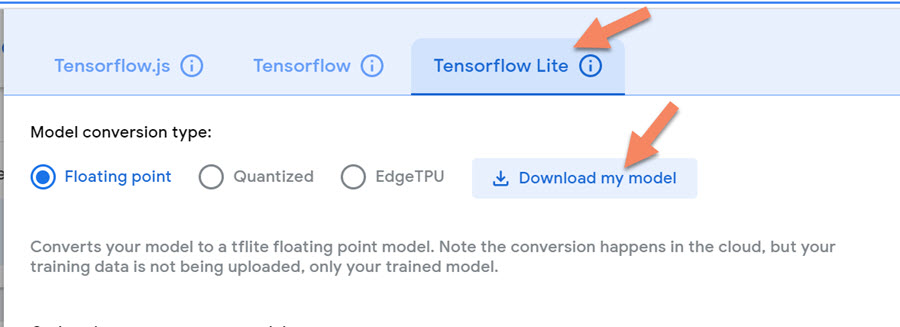
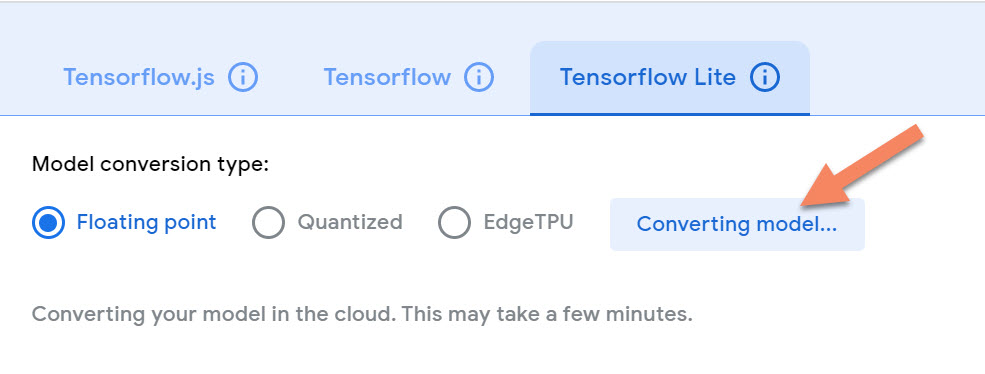
- Click on Download My Model.
-
-
-
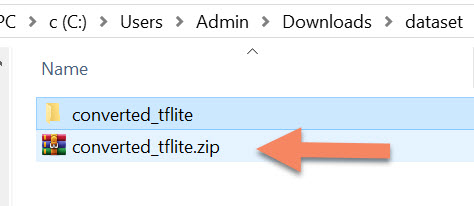
- After a few seconds, converted_tflite.zip file will be downloaded
-
-
-
- Extract the converted_tflite.zip file.
-

-
-
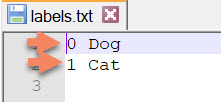
- Inside converted_tflite directory, you can see there are two files. Open labels.txt
-
-
-
- We need to remove 0 and 1.
- Why are we removing it?
- At the end, we need to show It’s a Cat or It’s a Dog based on the detection. If we didn’t remove the 0,1 and also the space too. It will end up like this: It’s a 1 Cat or It’s a 0 Dog.
-
-
-
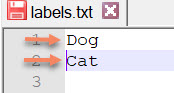
- Save the labels.txt file like above.
-
So Let’s create a Flutter project. If you haven’t installed Flutter – Read this tutorial
If you are using
-
-
- Android Studio – Create Project
- Visual Studio – If you have installed plugin and set up the SDK like above tutorial. Use Ctrl + Shift + P -> Flutter: New Application Project or
Create Project Using this Flutter Command and open project using Visual Studio.
-
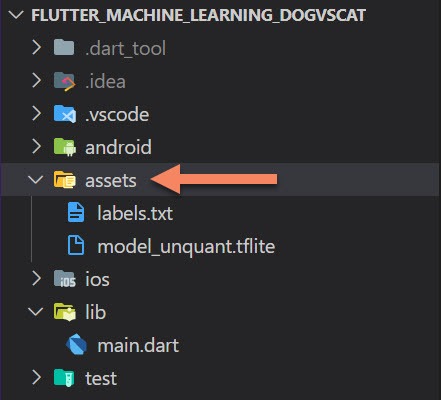
project name: flutter_machine_learning_dogvscat.
-
-
- Create an assets directory, copy and paste labels.txt and model_unquant.tflite.
-
-
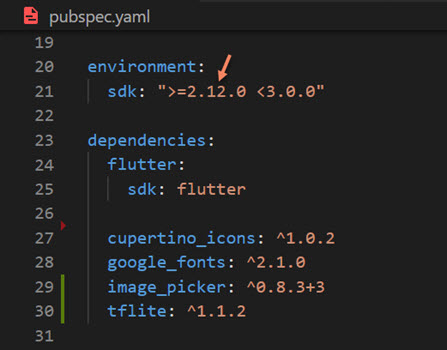
- Open pubspec.yaml file and paste below dependencies. I am using 2.12 Dart, Means Null safety is turned on.
  google_fonts: ^2.1.0
  image_picker: ^0.8.3+3
  tflite: ^1.1.2
-

- Add Assets directory in pubspec.yaml file.
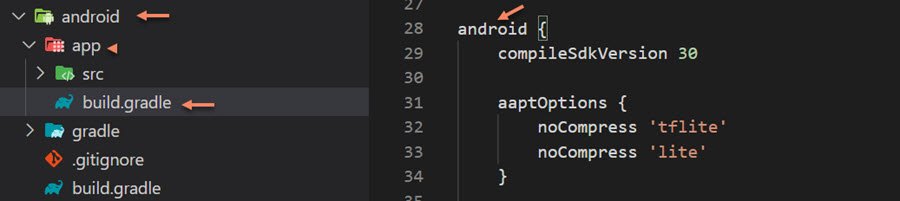
- Open Android/app/build.gradle, and paste the following inside android block.
aaptOptions {
        noCompress 'tflite'
        noCompress 'lite'
    }
- Change minSdkVersion to 19
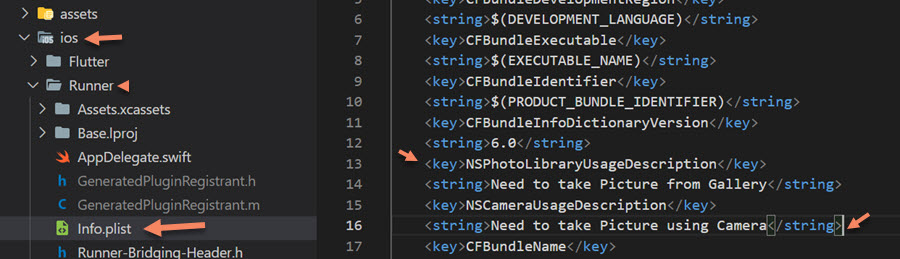
- For iOS users, You need to add below contents in ios/runner/info.plist file, For ImagePicker.
NSPhotoLibraryUsageDescription Need to take Picture from Gallery NSCameraUsageDescription Need to take Picture using Camera - Let’s clear main.dart file and create a Stateful Widget named MachineLearningApp.
import 'dart:io'; import 'package:image_picker/image_picker.dart'; import 'package:flutter/material.dart'; import 'package:google_fonts/google_fonts.dart'; import 'package:tflite/tflite.dart'; import '../constants.dart'; void main() => runApp( MaterialApp( home: MachineLearningApp(), ), ); class MachineLearningApp extends StatefulWidget { const MachineLearningApp({ Key? key }) : super(key: key); @override _MachineLearningAppState createState() => _MachineLearningAppState(); } class _MachineLearningAppState extends State { @override Widget build(BuildContext context) { return Container( ); } }- To avoid squiggly red line under ../constants.dart, create a constants.dart file and paste the below code.
import 'package:flutter/material.dart';

var bold = FontWeight.bold;
//Black color overlay
var filter = ColorFilter.mode(
  Colors.black.withOpacity(0.6),
  BlendMode.darken,
);
- filter used to create black overlay over the image.
- First of all, we need to load our model and labels to Tflite.
class _MachineLearningAppState extends State<MachineLearningApp>
{

  @override
  void initState() {
    super.initState();
    loadModelData().then((output) {
//after loading models, rebuild the UI.
      setState(() {});
    });
  }

  loadModelData() async {
//tensorflow lite plugin loads models and labels.
    await Tflite.loadModel(
        model: 'assets/model_unquant.tflite', labels: 'assets/labels.txt');
  }


  @override
  Widget build(BuildContext context) {
    return Container(

    );
  }
}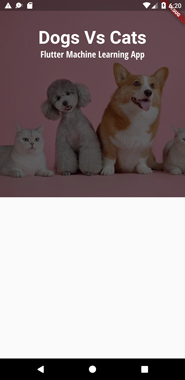
Let’s start building the UI. So, first, put any image in the assets directory or you can download our code and copy-paste the image. Here I have used pets.jpg. Implement the below code.@override Widget build(BuildContext context) { Size size = MediaQuery.of(context).size; return Scaffold( body: SingleChildScrollView( child: Column( children: [ titleContent(size), ], ), ), ); } Container titleContent(Size size) { return Container( //contains 55% of the screen height. height: size.height * 0.55, width: double.infinity, decoration: BoxDecoration( image: DecorationImage( image: AssetImage("assets/pets.jpg"), fit: BoxFit.cover, //black overlay filter colorFilter: filter, ), ), child: Center( child: Column( children: [ SizedBox( height: 60, ), Text( 'Dogs Vs Cats', style: GoogleFonts.roboto( fontSize: 40, color: Colors.white, fontWeight: bold, ), ), Text( 'Flutter Machine Learning App', style: GoogleFonts.openSansCondensed( fontWeight: bold, fontSize: 20, color: Colors.white, ), ), ], ), ), ); }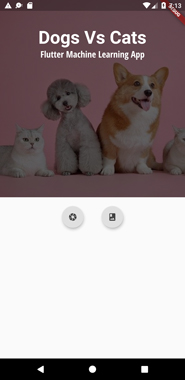
Define gallery, camera buttons and take images using ImagePicker. In UI, you need to implement below titleContent() inside the Column.SizedBox(height: 20), Row( mainAxisAlignment: MainAxisAlignment.center, children:[ galleryOrCamera(Icons.camera, ImageSource.camera), galleryOrCamera(Icons.photo_album, ImageSource.gallery), ] )- Now you will see the red squiggly line again under the galleryOrCamera. Copy paste or type the below code.
MaterialButton galleryOrCamera(IconData icon, ImageSource imageSource) { return MaterialButton( padding: EdgeInsets.all(14.0), elevation: 5, color: Colors.grey[300], onPressed: () { _getImage(imageSource); }, child: Icon( icon, size: 20, color: Colors.grey[800], ), shape: CircleBorder(), ); }- Rounded Button’s UI is complete now.
- Let’s move to it’s functionality – Code need to trigger the ImagePicker, when it’s tapped.
- Before defining _getImage(), you need to create File and ImagePicker instances inside State class.
 final ImagePicker _picker = ImagePicker();
  File? _image;
- ImagePicker (New API) uses XFile instead of PickedFile.
_getImage(ImageSource imageSource) async { //accessing image from Gallery or Camera. final XFile? image = await _picker.pickImage(source: imageSource); //image is null, then return if (image == null) return; setState(() { _image = File(image.path); }); }- Next we need to set the selected image and hide titleContent. Only when image is not null.
_image != null ? testImage(size, _image) : titleContent(size),
- Define testImage().
Widget testImage(size, image) {
    return Container(
      height: size.height * 0.55,
      width: double.infinity,
      decoration: BoxDecoration(
        image: DecorationImage(
          image: FileImage(
            image!,
          ),
          fit: BoxFit.cover,
        ),
      ),
    );
  }
}
- After implementing these code, just run and select any image.
- You will get output almost like above.
- Let’s add Instructions, Submit button and AndroidRide text like below.

SizedBox(height: 50), Text( '1. Select or Capture the image. \n2. Tap the submit button.', style: GoogleFonts.openSans(fontSize: 16), ), Padding( padding: const EdgeInsets.only(top: 30.0), child: ElevatedButton( style: ElevatedButton.styleFrom( padding: EdgeInsets.symmetric(horizontal: 60), elevation: 4, primary: Colors.grey[300], ), onPressed:(){}, // onPressed: detectDogOrCat, child: Text( 'Submit', style: GoogleFonts.roboto( color: Colors.black, fontWeight: bold, ), ), ), ), SizedBox(height: 45), Text( 'androidride.com', style: TextStyle( fontWeight: bold, ), ),- Let’s create the main part.
- Define a _result variable, to hold the output from Tflite.runModelOnImage
List? _result;
- Define DetectDogOrCat method.
void detectDogOrCat() async { if (_image != null) { try { _result = await Tflite.runModelOnImage( path: _image!.path, numResults: 2, threshold: 0.6, imageMean: 127.5, imageStd: 127.5, ); } catch (e) {} setState(() {}); } }- call detectDogOrCat() in submit button onPressed Method. Just like below.
Padding( padding: const EdgeInsets.only(top: 30.0), child: ElevatedButton( style: ElevatedButton.styleFrom( padding: EdgeInsets.symmetric(horizontal: 60), elevation: 4, primary: Colors.grey[300], ), onPressed: detectDogOrCat, child: Text( 'Submit', style: GoogleFonts.roboto( color: Colors.black, fontWeight: bold, ), ), ), ), - Set _result to null, then only it shows instructions again and again.
- Hide the instructions, if we get result from detectCatOrDog() method.
- After submitting a dog image, you will get an output like below.
- Extract dog label from the Map and uncomment style.
- Successfully completed the app.
_getImage(ImageSource imageSource) async { final XFile? _image = await _picker.pickImage(source: imageSource); if (_image == null) return; setState(() { image = File(_image.path); _result = null; }); }_result != null ? Text( '$_result', //style: GoogleFonts.openSansCondensed( //fontWeight: FontWeight.bold, // fontSize: 30, //), ) : Text( '1. Select or Capture the image. \n2. Tap the submit button.', style: GoogleFonts.openSans(fontSize: 16), ),
Text(
                    'It\'s a ${_result![0]['label']}.',
                    style: GoogleFonts.openSansCondensed(
                      fontWeight: FontWeight.bold,
                      fontSize: 30,
                    ),
                  )

Download Source Code
If you like this post, please share it with your friends and family.
Thank you. -